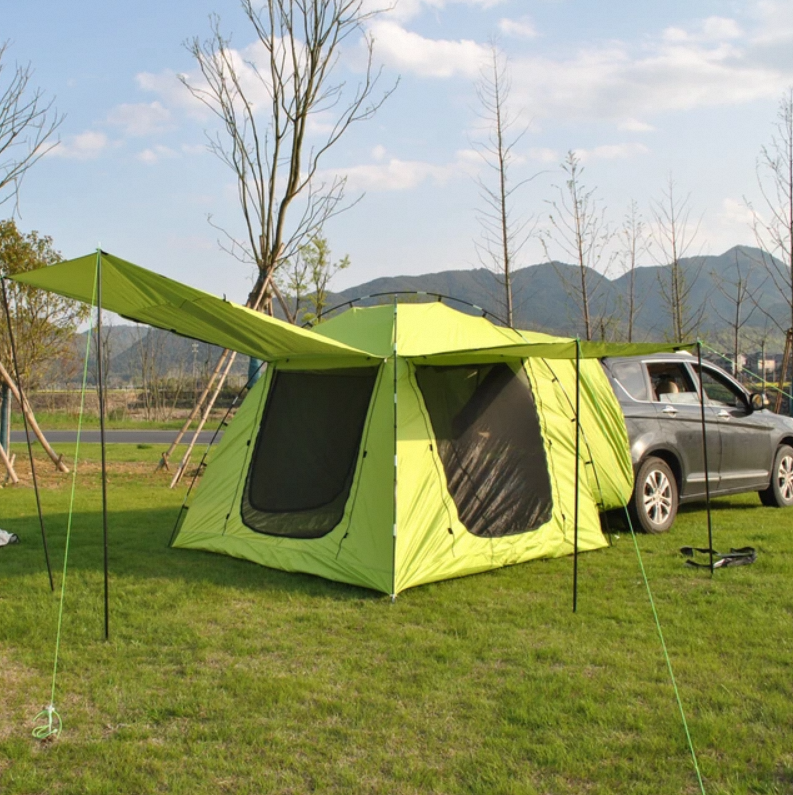
Setting up a pop-up tent is a quick and easy process that can be done in a matter of minutes. Pop-up tents, also known as instant tents or folding tents, are designed to be user-friendly and convenient. In this article, we will provide a detailed step-by-step guide on how to set up a pop-up tent.
Step 1: Choose a Suitable Location
The first step in setting up a pop-up tent is to choose a suitable location. You will want to look for a flat, level surface that is free of rocks, sticks, and other debris that could damage your tent or make it uncomfortable to sleep in. Make sure that the area is large enough to accommodate your tent and any additional gear you may have. It’s also a good idea to choose a location that is sheltered from the wind, if possible.
Step 2: Remove the Tent from its Carrying Bag
The next step in setting up a pop-up tent is to remove the tent from its carrying bag. Most pop-up tents come with a carrying bag that has straps or handles for easy carrying. Open the bag and remove the tent. Some models may require you to undo a strap or fastener to release the tent.
Step 3: Unfold the Tent
Once you have removed the tent from its carrying bag, it’s time to unfold it. Lay the tent out flat on the ground, making sure that it is facing the right direction. Be sure to open all the zippers, windows, and doors before setting up the tent. It’s important to ensure that the tent is completely unfolded and that all the material is taut before proceeding to the next step.
Step 4: Extend the Poles
Next, extend the poles of the pop-up tent. Most pop-up tents have flexible poles that are already attached to the tent fabric. All you need to do is extend the poles until they snap into place. You may need to give the poles a gentle tug to ensure that they are fully extended. Some models may require you to twist the poles to lock them in place.
Step 5: Raise the Tent
Once the poles are extended, it’s time to raise the tent. Grab the tent fabric at the base of the poles and lift it up. As you lift the tent, the poles will pop into place, creating a dome-shaped structure. Make sure that the tent is fully extended and that the poles are locked into place. Some models may require you to push down on the center of the tent to secure the poles in place.
Step 6: Secure the Tent
Now that your pop-up tent is up, it’s time to secure it. Look for the tent stakes and guylines that are included with your tent. Use the stakes to secure the corners of the tent to the ground. Make sure that the stakes are firmly in place and that the tent is stable. Use the guylines to secure the tent to nearby trees or other anchor points if necessary. Tighten the guylines to ensure that the tent is taut and secure.
Step 7: Enjoy Your Pop-up Tent
Congratulations, your pop-up tent is now set up and ready to use! Take some time to enjoy your new shelter and make yourself at home. Set up your sleeping bag and other gear inside the tent, and get ready for a comfortable and enjoyable outdoor experience.
In conclusion, setting up a pop-up tent is a quick and easy process that can be done in a matter of minutes. Choose a suitable location, remove the tent from its carrying bag, unfold the tent, extend the poles, raise the tent, secure the tent, and enjoy your new shelter. With a pop-up tent, you can spend less time setting up and more time enjoying your outdoor adventure.


