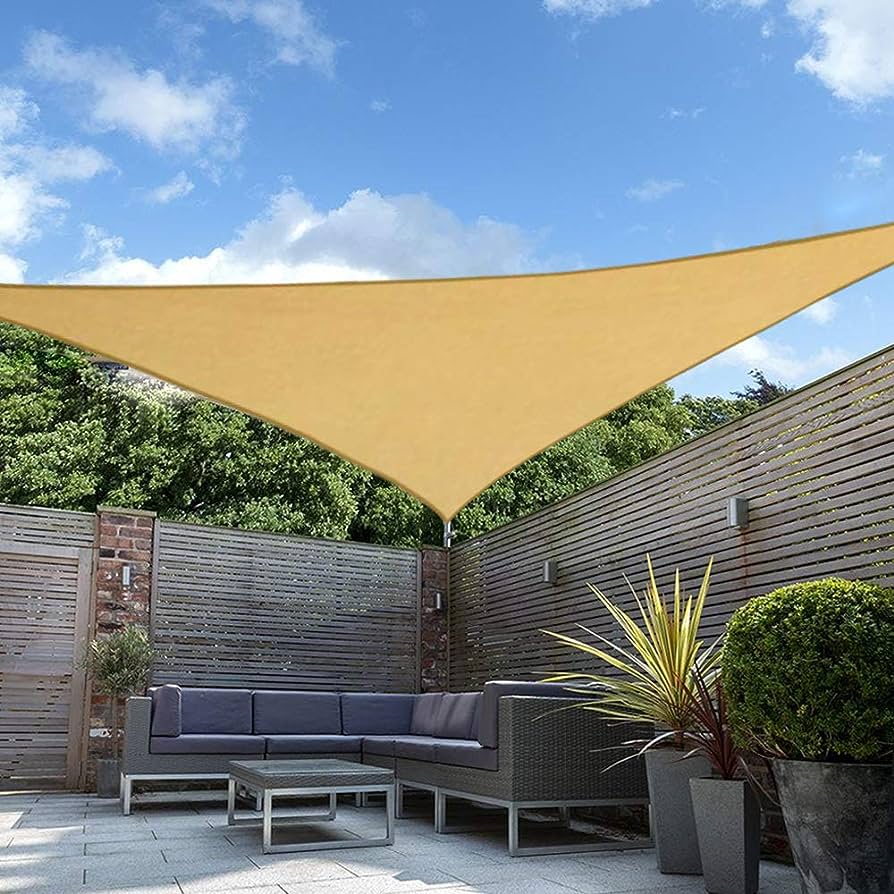
Sail awnings are a great way to add some shade and style to your backyard or patio. They are perfect for anyone who wants to stay cool under the hot sun, and they come in a variety of shapes and sizes to fit any outdoor space. However, installing a sail awning can be a bit of a challenge. To ensure that your sail awning is properly installed and safe, here are some tips to follow.
Choose the Right Spot for Your Sail Awning
Before you can install your sail awning, you need to find the right spot for it. This means finding a location that has enough space to accommodate the size of your sail awning, as well as a sturdy structure to attach it to. Some good options for attachment points include trees, posts, and the sides of your house.
When choosing a location for your sail awning, you should also consider the direction of the wind. You want to avoid installing your sail awning in a spot where the wind will catch it and cause it to flap around. This not only looks unattractive, but it can also be dangerous.
Measure Your Space
Once you have found the perfect location for your sail awning, it’s time to take some measurements. You’ll need to measure the height and width of your space to determine the size of sail awning you need. You should also take into account any obstacles, such as trees or other structures, that might interfere with the installation process.
When measuring your space, it’s important to be as accurate as possible. A sail awning that is too small won’t provide enough shade, while one that is too large will look awkward and out of place.
Choose Your Sail Awning
Once you have measured your space, it’s time to choose the right sail awning for your needs. There are a variety of sail awning styles and colors to choose from, so take your time and find one that complements your outdoor decor.
When choosing a sail awning, consider the material it is made from. If you live in an area with high humidity, you may want to choose a breathable sail awning to prevent mold and mildew from forming.
Prepare Your Attachment Points
Before you can install your sail awning, you need to prepare your attachment points. This means ensuring that the structure you are attaching your sail awning to is sturdy and secure.
If you are attaching your sail awning to a tree, make sure that the tree is healthy and strong enough to support the weight of the sail awning. If you are attaching your sail awning to the side of your house, make sure that the wall is strong enough to hold the weight of the sail awning and that you have the proper tools and hardware to install it securely.
Install Your Sail Awning
Once you have prepared your attachment points, it’s time to install your sail awning. The installation process may vary depending on the type of sail awning you have, but here are some general steps to follow:
Attach your sail awning to your attachment points using the hardware provided. This usually involves running a rope or cable through the grommets on your sail awning and tying it securely to your attachment points.
Adjust the tension of your sail awning to ensure that it is taut and wrinkle-free. You want your sail awning to be tight enough to provide shade, but not so tight that it puts too much stress on your attachment points.
Maintain Your Sail Awning
Once your sail awning is installed, it’s important to maintain it properly to ensure that it lasts for years to come. Here are some tips to keep in mind:
Clean your sail awning regularly to prevent dirt and debris from accumulating. You can use a soft-bristled brush and mild detergent to clean your sail awning.
If your sail awning gets wet, allow it to dry completely before storing it. This will prevent mold and mildew from forming.
Conclusion
Installing a sail awning can be a bit of a challenge, but with the right tools and techniques, you can do it yourself and enjoy the shade and style it provides. Follow these tips to properly install your sail awning, and don’t forget to maintain it properly to ensure that it lasts for years to come.

